Physical Address
304 North Cardinal St.
Dorchester Center, MA 02124
Physical Address
304 North Cardinal St.
Dorchester Center, MA 02124

[ad_1]
AppleInsider is supported by its viewers and will earn fee as an Amazon Affiliate and affiliate associate on qualifying purchases. These affiliate partnerships don’t affect our editorial content material.
In case your iPhone’s ringtone is difficult to make out in public, otherwise you’re merely uninterested in what’s accessible, this is easy methods to personalize your cell machine with a customized ringtone.
Apple has a big selection of default ringtones included within the iPhone. With just a few faucets, anybody can change the ringtone from the default to one among many options.
If what’s included in iOS does not give you the results you want, there’s additionally a sea of ringtones in the stores from the iTunes Retailer. With a wealth of sounds accessible, you could possibly simply purchase a part of a favourite tune to listen to every time your cellphone begins ringing.
Not everybody needs to spend cash on a ringtone, although. Moreover, not everybody needs to make use of the identical snippet of a well-liked tune if others are doing the identical factor.
One possibility is to create your personal ringtone. A singular sign that’s private simply to you and your units.
This is how one can put your audio masterpiece as your alert sound in your iPhone.
There are just a few steps to creating the ringtone, and the primary is to make the precise ringtone itself.
You are able to do this in just a few methods, reminiscent of by clipping down a DRM-free MP3 or creating one thing solely from scratch. On Mac, your greatest guess for doing both is by way of GarageBand.
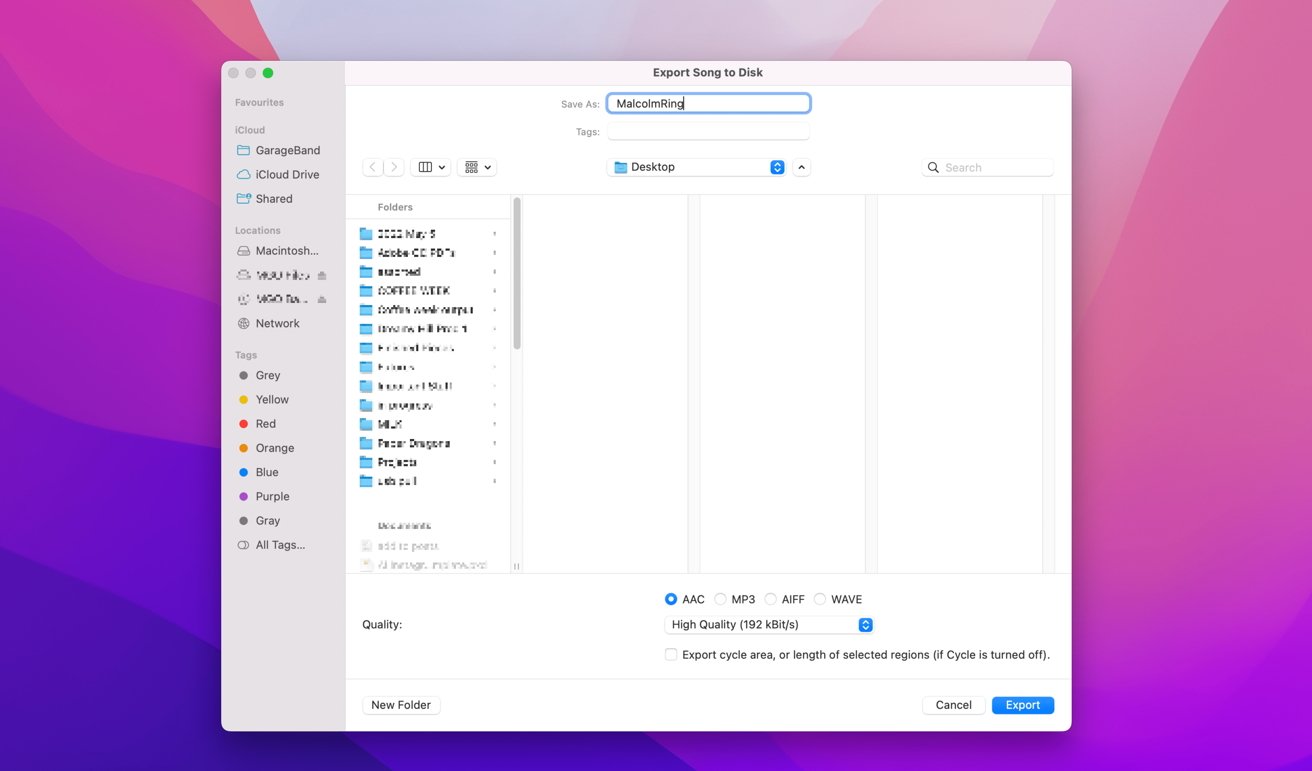
Be sure that to export the file from GarageBand as an AAC, earlier than renaming it to an m4r file.
In GarageBand for macOS, create a brand new mission. You’ll have to mess around with the assorted settings and devices to create a monitor to your liking, however ensure that it’s moderately temporary, reminiscent of 30 seconds or much less.
When you’ve got a non-DRM MP3 file that you simply wish to trim, you possibly can import it to GarageBand and reduce it down to only the chunk of audio you want. Alternately, you could possibly slap a few of Apple’s loops collectively to make an acceptable composition.
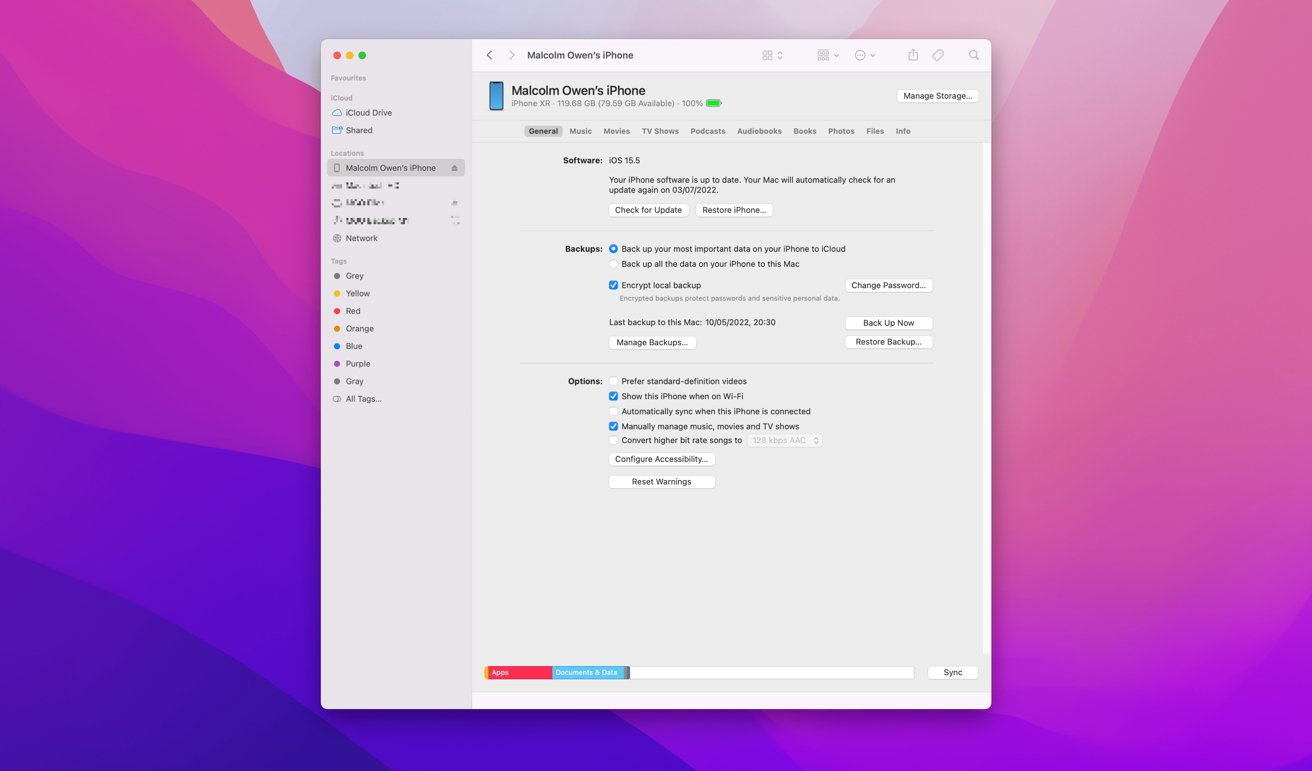
You will want to pull and drop the ringtone file onto this iPhone display in Finder to ship it out of your Mac to the iPhone.
When you’ve got GarageBand put in on each your Mac and your iPhone, you could possibly use iCloud Drive to work on the ringtone on the Mac, then switch it to the iPhone for the ultimate export.
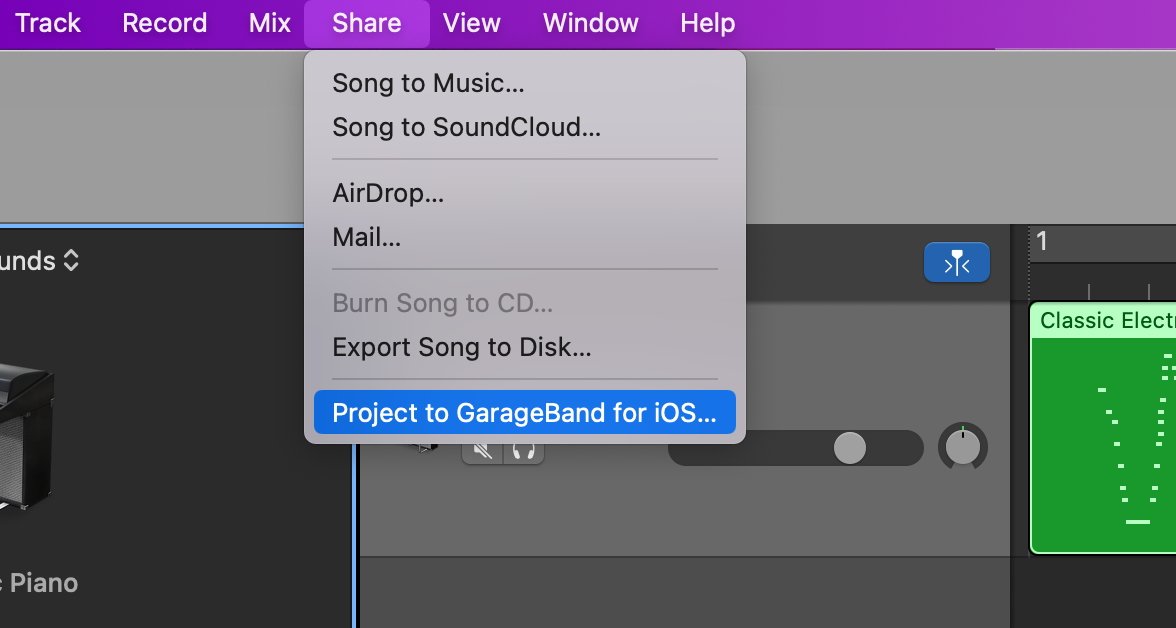
You may additionally switch the GarageBand mission from macOS to iOS and export in your iPhone.
Doing so this manner additionally means that you can discover out what the ringtone appears like by means of the iPhone’s audio system earlier than formally setting it because the ringtone. Additional tweaks may be made earlier than the ultimate export.
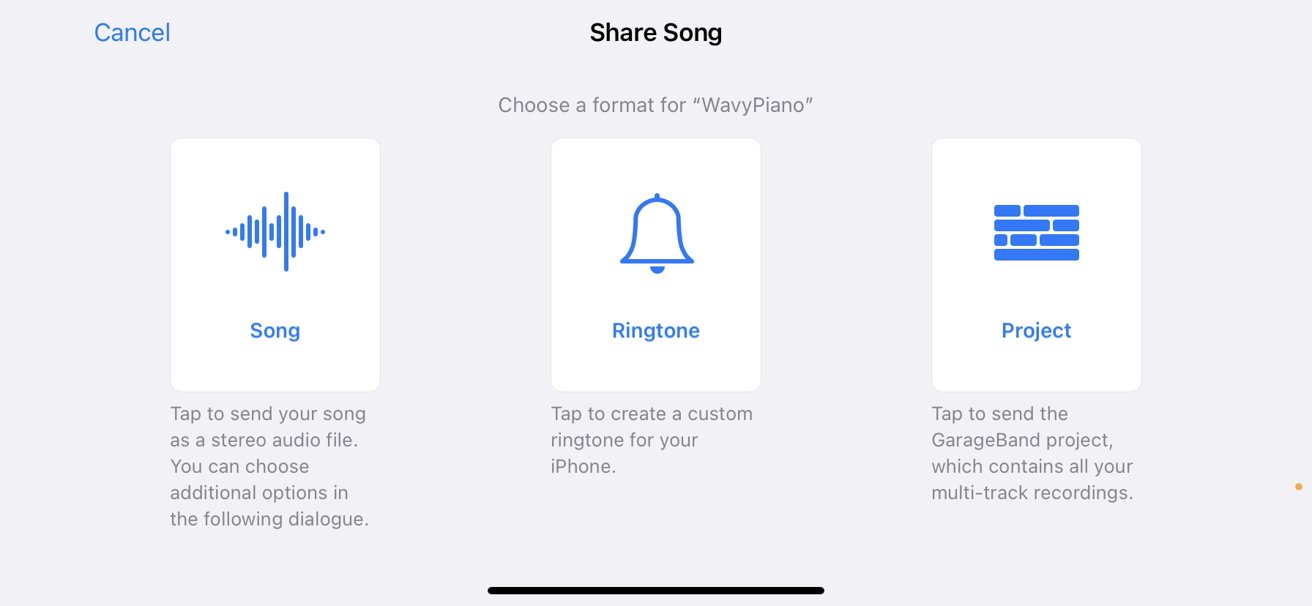
Sharing the tune in GarageBand on iOS means that you can save as a ringtone on to the machine.
Since this second technique depends on utilizing GarageBand on the iPhone to export, you could possibly eradicate utilizing the Mac altogether and create the ringtone solely on the cell machine.
After getting completed making the creation, you should go into the mission browser, maintain down the file to search out the Share menu, then comply with the remainder of the method for creating the precise ringtone.
[ad_2]